


Here’s a summary of how the Inquiry Tool works. You open a query, which displays information in a results table (the type of information is determined by the query you choose). You then use filters and other controls to refine what and how information is displayed in the results table. From the results table, you can drill down to source transactions and other records.
Let’s walk through of an example.
In the Web Screen, select the green Inquiry Tool from the Tools menu.
Click on the drop down arrow to see the Inquiries available to you.
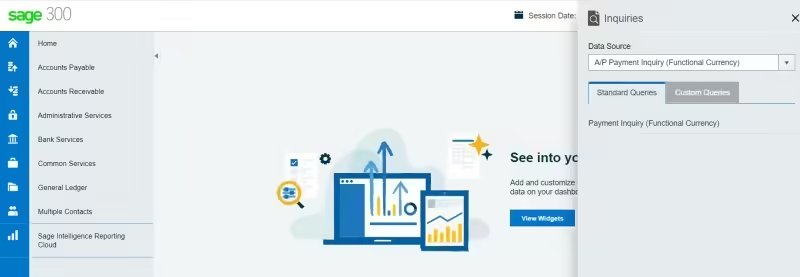
A list of Data Sources will be presented. In this example we are performing a A/P Payment Inquiry.
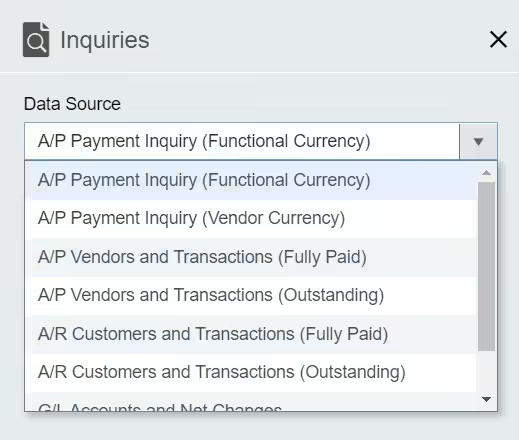
In this example there is a further choice between the Functional and Vendor Currency.
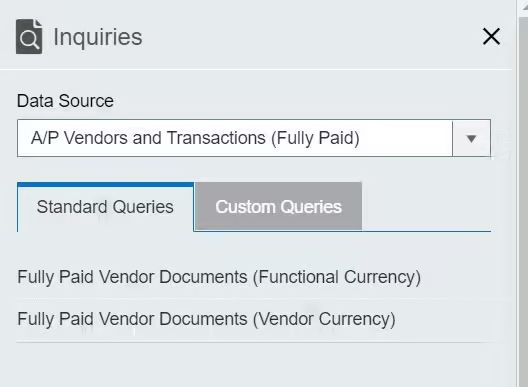
We have chosen the Functional Currency. The initial Inquiry is shown below.
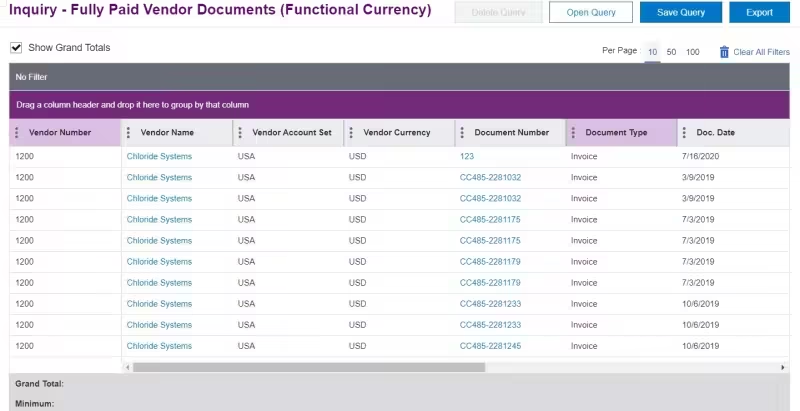
Here’s an explanation of some of the fields on the Inquiry.

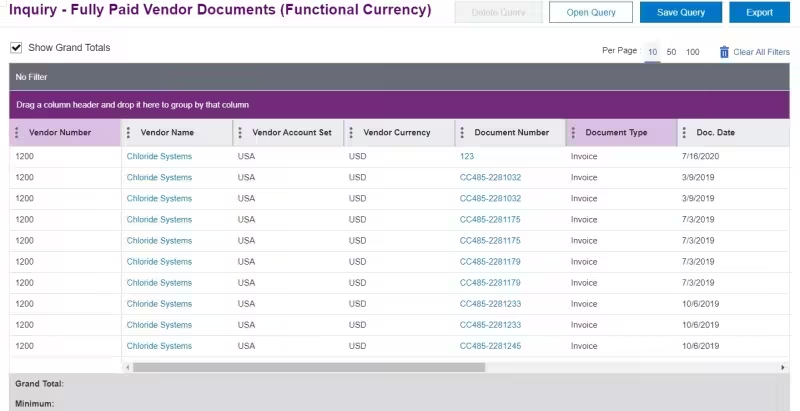
If you look closely, you will notice that each column header has a vertical ellipsis. When you click on the ellipsis, you are given additional choices.
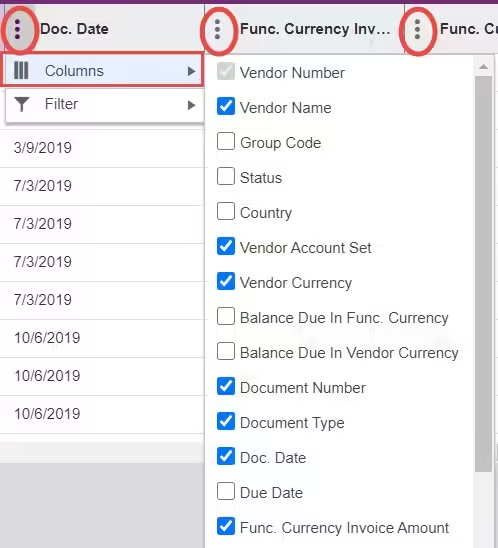
Columns: Here you choose which columns to display in your inquiry.
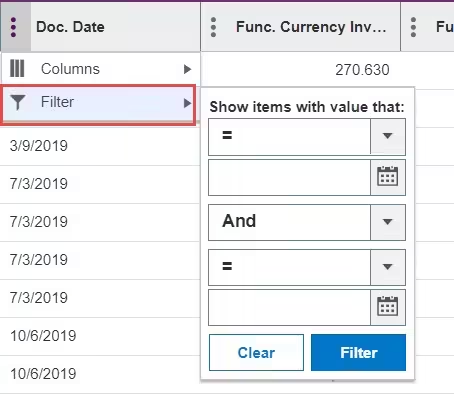
Filter: this is where you can filter the data included in the Inquiry.
In this example, we are filtering to show only Debit Notes or Credit Notes.
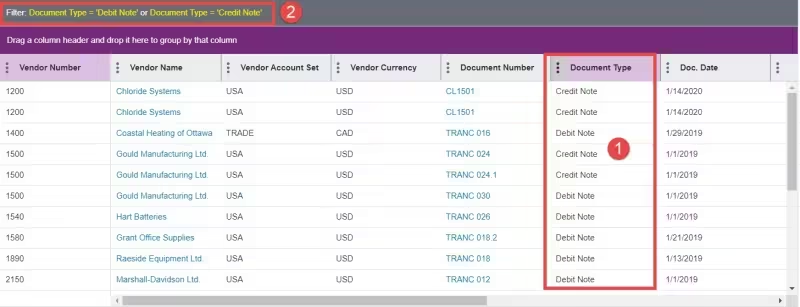
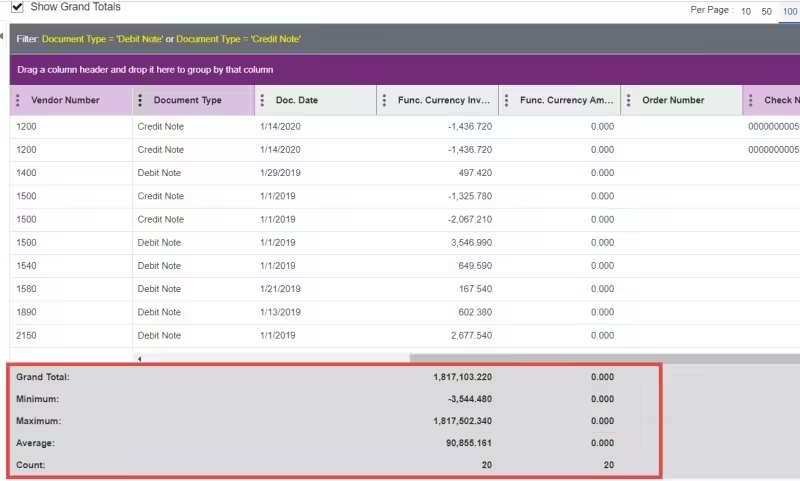
The Grand Total displays totals based on your filter.
These queries can be saved and/or exported. Stay tuned…we will cover exporting inquiries in a future Ledger Lines article.

Download 1 of 11 Continuous
Improvement Templates